
Have you ever opened your cooler on day two of a camping trip and found the ice already melted into lukewarm water?
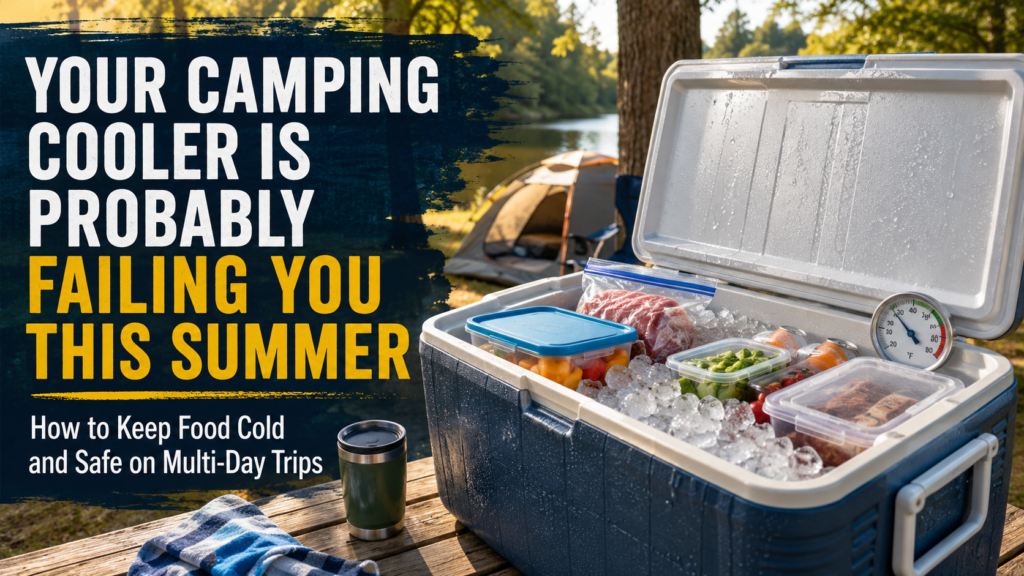
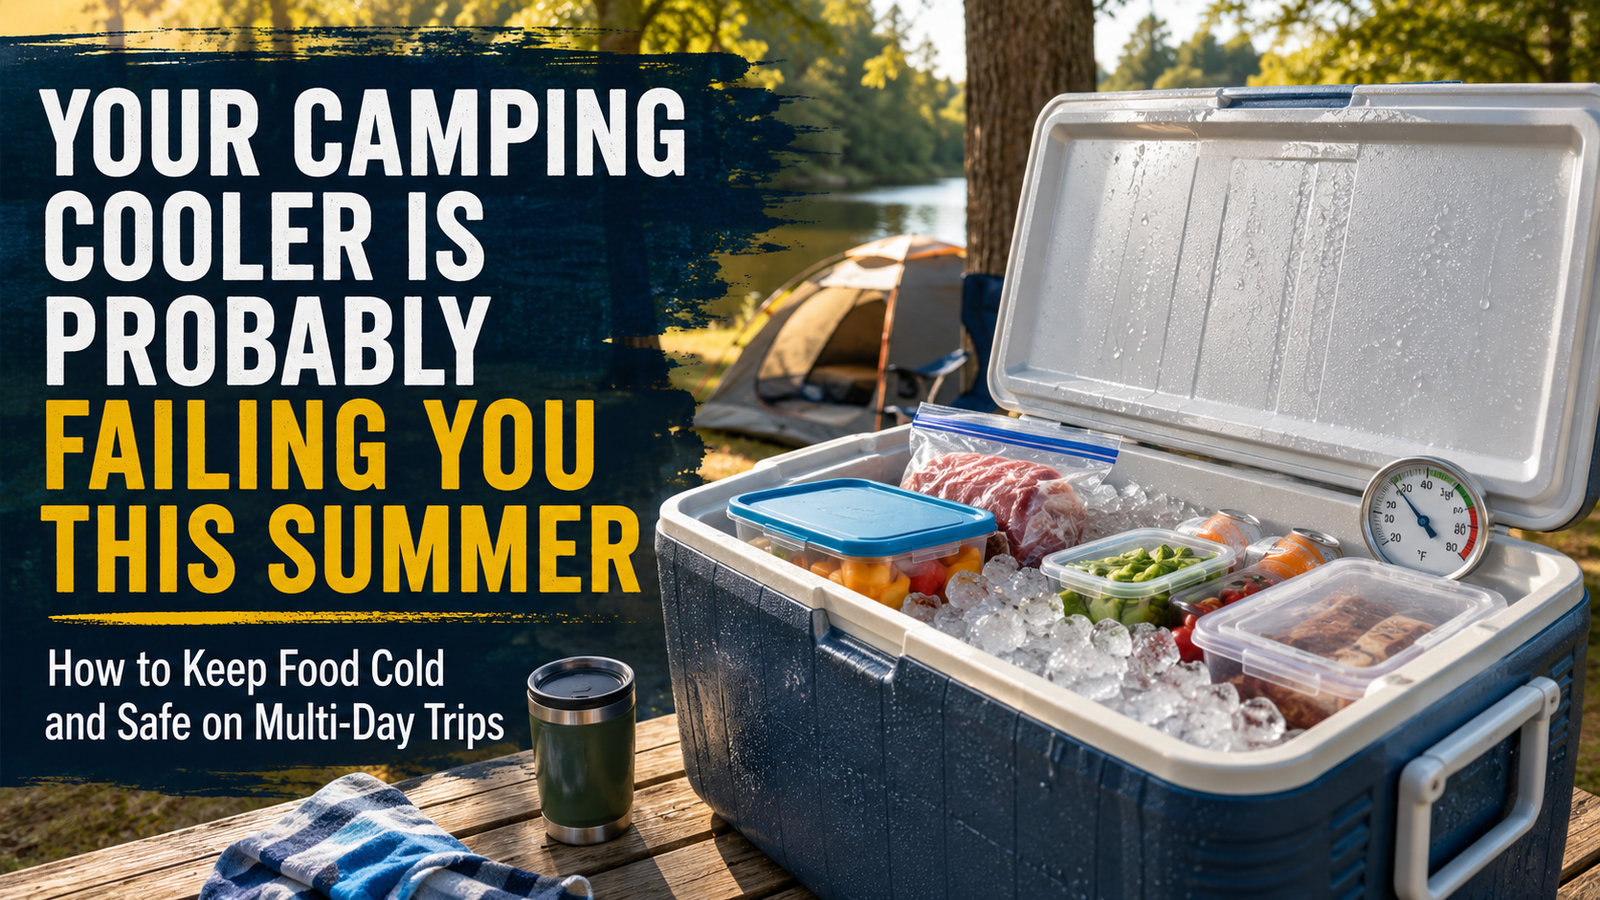
If yes, you are not doing anything unusual. Most people pack a cooler for a weekend camping trip the same way they would pack one for a backyard cookout. That works for a few hours. It does not always work when you are camping for multiple days, sitting in full sun, and living without a refrigerator.
And the stakes are different.
At a backyard BBQ, the worst case might be tossing the potato salad. On a camping trip three hours from the nearest town, spoiled food can become a real problem fast.
This camping food safety checklist will help you pack your cooler smarter, plan your meals in the right order, and keep food safer for the full length of a summer camping trip.
Affiliate disclosure: This post may contain affiliate links. If you purchase through these links, I may earn a small commission at no extra cost to you.
Free Download: The Multi-Day Camping Food Safety Checklist
How This Camping Food Safety Checklist Helps
This camping food safety checklist is designed for trips that last longer than one day. It helps you plan what goes in the cooler, what should be eaten first, and what can wait until later in the trip.
A camping food safety checklist is especially helpful in summer because heat, melted ice, and repeated cooler openings can create food safety problems faster than people expect.
Before you leave home, use this camping food safety checklist to decide which meals need ice, which foods should stay sealed, and which items can be packed without refrigeration.
Planning a trip longer than one day?
Download the free Multi-Day Camping Food Safety Checklist, a printable packing and safety guide that includes cooler setup tips, food order planning, and a day-by-day camping meal safety plan.
Why You Need a Camping Food Safety Checklist
A camping food safety checklist is helpful because camping food problems usually happen when people pack for one day but stay for several.
The cooler gets opened too often. Ice melts faster than expected. Raw meat, dairy, eggs, and leftovers may not stay cold enough.
That is why this camping food safety checklist focuses on three simple things: packing your cooler correctly, eating foods in the safest order, and knowing when food should be thrown away.
Before you leave for camp, use the camping food safety checklist to plan which meals need the cooler and which meals can stay shelf-stable.
Why Camping Coolers Fail Faster Than People Expect
A backyard cooler usually gets opened once in a while and often has shade nearby.
A campsite cooler has a much harder job.
It may sit in direct sun for hours. It gets opened over and over throughout the day. It has to protect raw meat, eggs, dairy, leftovers, drinks, and snacks for more than one afternoon. And unless you are close to a store, adding more ice may not be easy.
The cooler math that works for a single afternoon often runs out by day two.
That is when most camping food safety problems start.
For official outdoor food safety guidance, the FDA recommends keeping cold food cold, hot food hot, and avoiding the food “danger zone” between 40°F and 140°F for too long. Read the FDA outdoor food safety guide here.
The Cooler Setup That Actually Lasts
1. Pre-chill your cooler before packing it
Do not start with a warm cooler.
The night before your trip, place your cooler somewhere cold if possible, or fill it with ice water to drop the inside temperature before you pack it. A pre-chilled cooler holds cold better than one starting at room temperature.
Also pre-chill your food and drinks before they go in the cooler. Warm drinks and room-temperature food make the ice work harder right away.
2. Use block ice, not only cubed ice
Cubed ice melts fast because more surface area is exposed.
Block ice melts more slowly and gives your cooler a stronger cold base for multi-day trips. You can freeze water in clean jugs or large containers before your trip, or buy block ice near many camping areas.
A good setup is to use block ice for long-lasting cold and cubed ice to fill small gaps around food.
3. Pack food in waterproof containers or sealed bags
Melted ice turns into cooler water, and cooler water can spread bacteria if raw meat juices leak.
Keep raw meat, poultry, seafood, and anything messy in sealed containers or double bags. Store them at the bottom of the cooler where they are less likely to drip onto other foods.
This also keeps your food from getting soggy by day two.
4. Layer your cooler the right way
The packing order matters.
Use this simple cooler layout:
- Bottom layer: block ice or frozen water jugs
- Middle layer: raw meat and highly perishable food in sealed containers
- Upper layer: eggs, dairy, produce, and ready-to-eat foods
- Top layer: extra ice or frozen gel packs
Cold air sinks, and ice on top helps keep everything below it colder as it melts.
5. Use a 2:1 ice-to-food ratio when possible
For multi-day camping trips, your cooler should not be packed mostly with food and just a little ice.
A good starting point is a 2:1 ice-to-food ratio. That means roughly twice as much ice as food. If you are camping in very hot weather or will not be able to buy more ice, use even more ice if your cooler space allows.
This is one of the biggest differences between packing for a cookout and packing for a multi-day camping trip.
6. Keep drinks in a separate cooler
This is one of the smartest camping cooler tricks.
The drink cooler gets opened constantly. People grab water, juice, soda, and sports drinks all day long.
If your food and drinks are in the same cooler, your food cooler loses cold air every time someone wants a drink.
Keep one cooler for food and one cooler for drinks. Your food cooler will stay colder much longer because it gets opened less often.
7. Keep the cooler shaded and off hot ground
Direct sun and hot ground both warm your cooler.
Keep your cooler in the shade whenever possible. Place it under a picnic table, canopy, tarp, or tree. If the ground is hot, lift the cooler onto a stand, a crate, or even a few logs.
Small changes like shade and airflow can make a real difference on a hot camping day.
I personally use a portable fridge/freezer cooler for camping, and it has been one of the most useful camping items I have owned. I have used it for regular camping trips, road travel, and even during a storm-related power outage when I needed to keep food cold at home.
One example is a dual-zone portable refrigerator and freezer, like the BODEGACOOLER 12V Car Refrigerator. It can be used as a fridge only, a freezer only, or both at the same time. Some models also include app control, battery protection, wheels, and a retractable handle, which makes them easier to manage for camping and vehicle use.
That said, an electric camping cooler is not necessary for everyone.
A traditional cooler with block ice can still work well for short trips, budget trips, or campsites without reliable power.
But if you camp often, travel with kids, carry meat or frozen food, or want a backup cooling option during storms and power outages, an electric fridge/freezer cooler may be worth considering.
- When an Electric Camping Cooler Makes Sense
- An electric cooler may be helpful if:
- You camp for more than two days at a time.
- You do not want to keep buying ice.
- You want a true fridge or freezer option at camp.
- You travel with meat, dairy, frozen meals, or medication that needs to stay cold.
- You use a car, RV, portable power station, or campsite power source.
- You want a backup option during storms or power outages.
- What to Check Before Buying One
- Before buying an electric camping cooler, check:
- The cooler capacity
- Whether it has one zone or dual zones
- Whether it can work as a fridge and freezer
- How it is powered
- Whether it has battery protection
- Whether it fits in your vehicle
- Whether it has wheels or handles
- How much power it uses
- Whether it can connect to a portable power station
A regular cooler is simpler and cheaper, but an electric camping cooler can make food safety much easier on longer trips.
The Day-by-Day Eating Order That Prevents Waste and Risk
For multi-day camping trips, your meal plan should match how long each food can safely depend on the cooler.
Eat the most perishable foods first, while the cooler is at its coldest.
Day 1
Use your most perishable foods first:
- Fresh meat
- Pre-marinated meat
- Seafood
- Dairy-heavy meals
- Prepared salads
- Fresh foods that must stay very cold
Day 2
Use foods that still need cold storage but may be slightly more forgiving:
- Eggs
- Hard cheeses
- Remaining fresh produce
- Cooked leftovers that have stayed cold
- Pre-cooked meats
Day 3 and beyond
Shift toward shelf-stable foods:
- Canned goods
- Dried pasta
- Rice
- Instant potatoes
- Peanut butter
- Crackers
- Shelf-stable bread
- Dehydrated meals
- Freeze-dried meals
- Trail mix
- Jerky
- Dried fruit
By the time your cooler ice starts to get low, you should already be relying less on foods that need deep refrigeration.
Foods That Do Not Need a Cooler
One of the safest ways to plan a multi-day camping trip is to reduce how much food depends on the cooler in the first place.
Good shelf-stable camping foods include:
- Canned beans, tuna, chicken, and vegetables
- Dried pasta, rice, and instant potatoes
- Peanut butter
- Shelf-stable bread, tortillas, or crackers
- Dehydrated or freeze-dried meals
- Trail mix
- Jerky
- Dried fruit
- Granola bars
- Oatmeal packets
- Shelf-stable drink mixes
- Canned soup or chili
Freeze-dried camping meals, like Mountain House meals, can be helpful because they have a long shelf life and usually only need boiling water.
A strong camping food plan includes cooler-dependent food for the first day or two, then shelf-stable meals for the rest of the trip.
How to Tell If Camping Food Has Gone Bad
When you are camping, do not rely only on smell or appearance. Some unsafe food may not look obviously spoiled.
Use these safety checks:
- Discard meat, poultry, or seafood that smells off, feels slimy, or has changed color.
- Discard dairy that smells sour or changes texture.
- Discard food if raw meat juices leaked into the cooler water and touched ready-to-eat foods.
- Discard perishable food if the cooler has been above 40°F for too long.
When in doubt, throw it out.
A Govee Bluetooth Hygrometer Thermometer can remove a lot of guesswork. It is small, inexpensive, and helps you know whether your cooler is staying at a safe temperature.
Camping Cooler Safety Summary
Before you leave, pre-chill your cooler and your food.
- Use block ice, not just cubed ice.
- Pack raw meat in sealed containers at the bottom of the cooler.
- Use ice on the bottom and top.
- Aim for a 2:1 ice-to-food ratio for multi-day trips.
- Keep drinks in a separate cooler.
- Store the food cooler in the shade and off hot ground.
- Eat the most perishable foods first.
- Plan shelf-stable meals for later in the trip.
- Use a cooler thermometer when possible.
Download the free Multi-Day Camping Food Safety Checklist so you can pack your cooler and meal plan before you leave.
Your Turn
What is your go-to trick for keeping food cold on a multi-day camping trip?
Drop a comment and share it. Camping communities always have clever solutions that do not always make it into standard guides.
And if someone you know is planning a summer camping trip, share this with them. A failed cooler three hours from a grocery store is a problem nobody wants to solve in person.
FAQ
How long does a well-packed cooler actually stay cold while camping?
A well-packed cooler may stay cold for several days, but it depends on the cooler quality, outdoor temperature, how much ice you use, whether the cooler is shaded, and how often it gets opened.
For food safety, do not guess based only on how much ice is left. Use a cooler thermometer and keep cold foods at 40°F or below.
Is dry ice worth using for camping?
Dry ice can keep food colder longer than regular ice, but it requires careful handling. Never touch dry ice directly with bare hands, do not store it in a completely airtight container, and make sure there is proper ventilation.
For most family camping trips, regular block ice is easier and more practical.
Should raw meat go at the top or bottom of the cooler?
Raw meat should go near the bottom of the cooler in a sealed container or double bag. This helps keep it cold and prevents raw juices from dripping onto ready-to-eat foods.
What foods are best for day three of a camping trip?
By day three, it is smart to rely more on shelf-stable foods like canned goods, pasta, rice, oatmeal, peanut butter, crackers, dehydrated meals, freeze-dried meals, jerky, and dried fruit.
Final Thoughts
A cooler can absolutely work for a summer camping trip, but only if you pack it for the length of the trip and not just the first afternoon.
Pre-chill it. Use more ice than you think you need. Keep drinks separate. Eat the most perishable foods first. And build part of your meal plan around foods that do not need a cooler at all.
For more help planning your trip, read Beginner Camping Guide: How to Plan a Perfect Weekend Tent Camping Trip.
For general summer food safety rules that apply beyond the campsite, read The 2-hour rule almost everyone breaks at summer BBQs.